Organizations
The Admin Console provides a dedicated interface for managing organizations — the hierarchical business units within a tenant. You can create root organizations, nest sub-departments under them, assign property templates, configure roles, and manage user membership — all from a single, tree-based workspace.
This guide walks you through every organization management workflow available in the Admin Console: browsing the hierarchy, creating and editing organizations, working with templates and attributes, assigning roles, and managing users.
Goal
By the end of this guide, you will be able to:
- Navigate the organization hierarchy and view organization details
- Create root organizations and nested sub-departments
- Use department templates to pre-fill organization configurations
- Assign property templates and fill custom attributes
- Configure realm roles and client roles for organizations
- Assign and remove users from organizations
- Edit and delete organizations
Audience
Platform engineers, operators, and solution engineers responsible for setting up and maintaining the organizational structure within Keymate tenants.
Prerequisites
- A running Keymate deployment with Admin Console access
- At least one tenant configured
- Your user account has organization management permissions (CREATE, READ, UPDATE, DELETE scopes on the Organizations resource)
- If you plan to use department templates, ensure they are configured beforehand under Governance > Templates > Organization Templates
Before You Start
Organizations in Keymate represent business units, departments, or partner entities within a tenant. They form a hierarchical tree structure — a root organization can contain sub-departments, which can themselves contain further sub-departments with no depth limit. Each organization can have:
- Custom attributes derived from property templates (typed key-value pairs)
- Realm roles that apply at the realm level
- Client roles scoped to specific OAuth clients
- User assignments with per-user role mappings
Organizations are always scoped to a single tenant. When you navigate to the organization management page, you first select a tenant, and all operations apply within that tenant's boundary.
Worked Example
Throughout this guide, we use a fictional company Acme Corp with the following structure:
- Acme Corp (root organization)
- Engineering (sub-department)
- Sales (sub-department)
We create the root organization using a department template, add sub-departments, assign roles, and onboard users.
Steps
1. Navigate to the organization hierarchy
Open the Admin Console and navigate to Identity > Organizations.
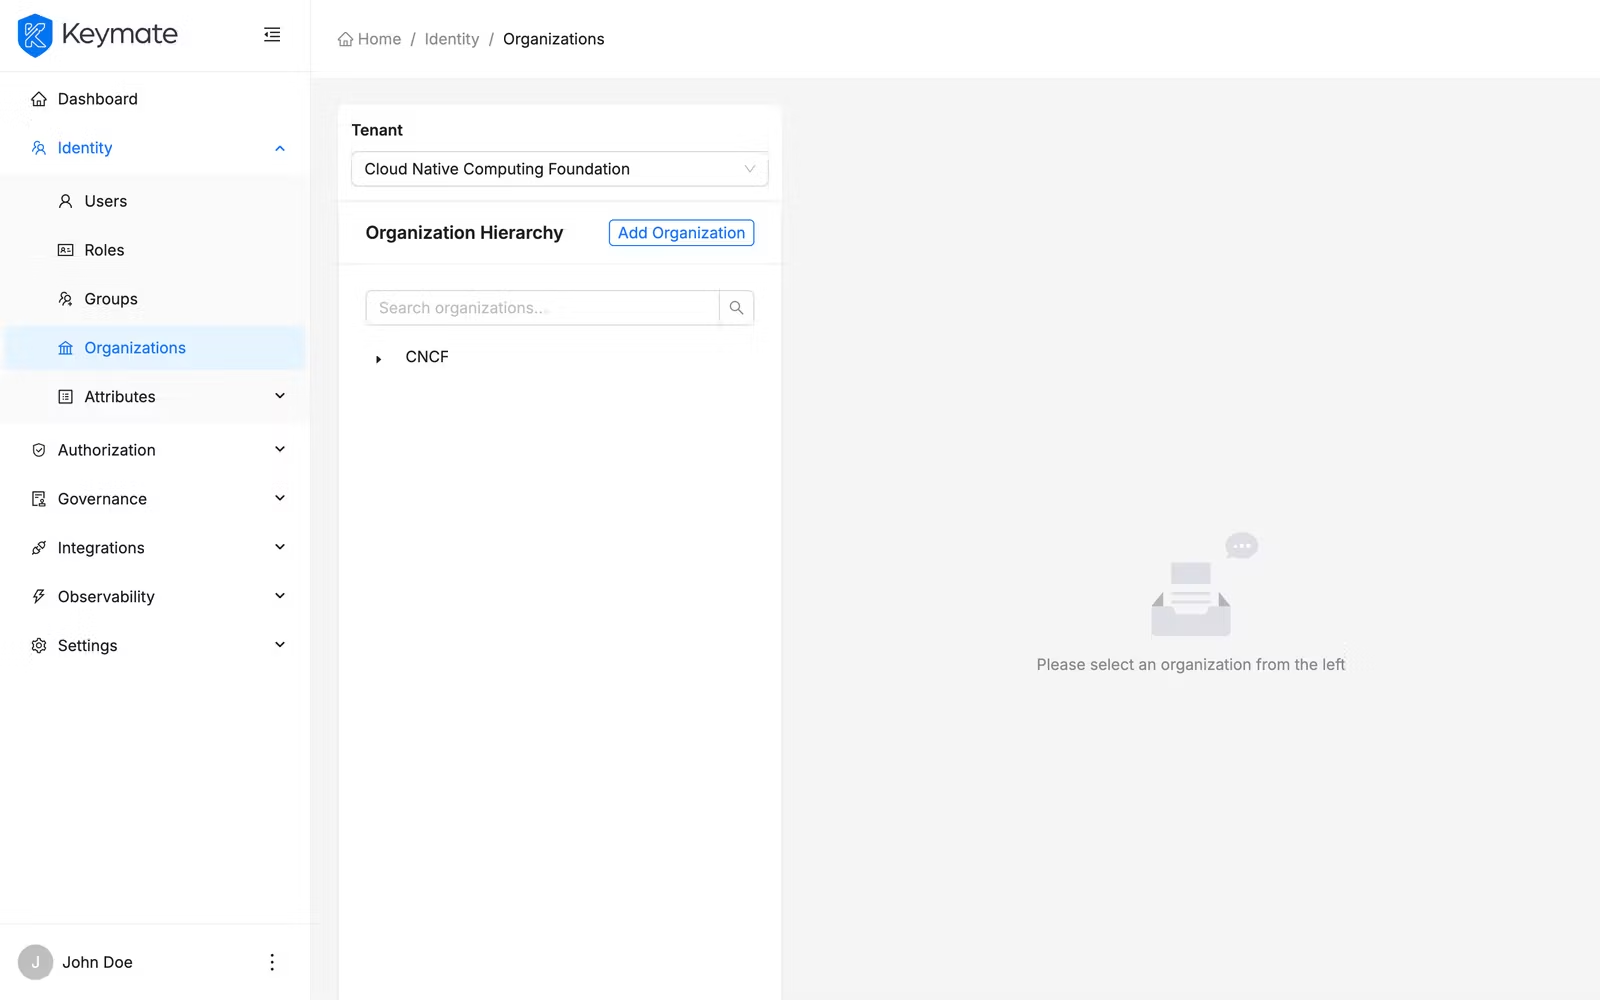
The page has a split layout: a sidebar on the left showing the organization tree, and a detail panel on the right.
Select a tenant from the Tenant dropdown at the top of the sidebar. Once selected, the Organization Hierarchy tree loads and displays all root organizations and their nested sub-departments for that tenant.

If no tenant is selected, the sidebar displays a prompt: "Please select a tenant to view organizations." You must select a tenant before any organization operations become available.
Click any node in the tree to open its detail page in the right panel. The currently selected organization is highlighted in the tree.
2. Create a root organization
Click Add Organization in the tree sidebar header. This opens the organization creation form.
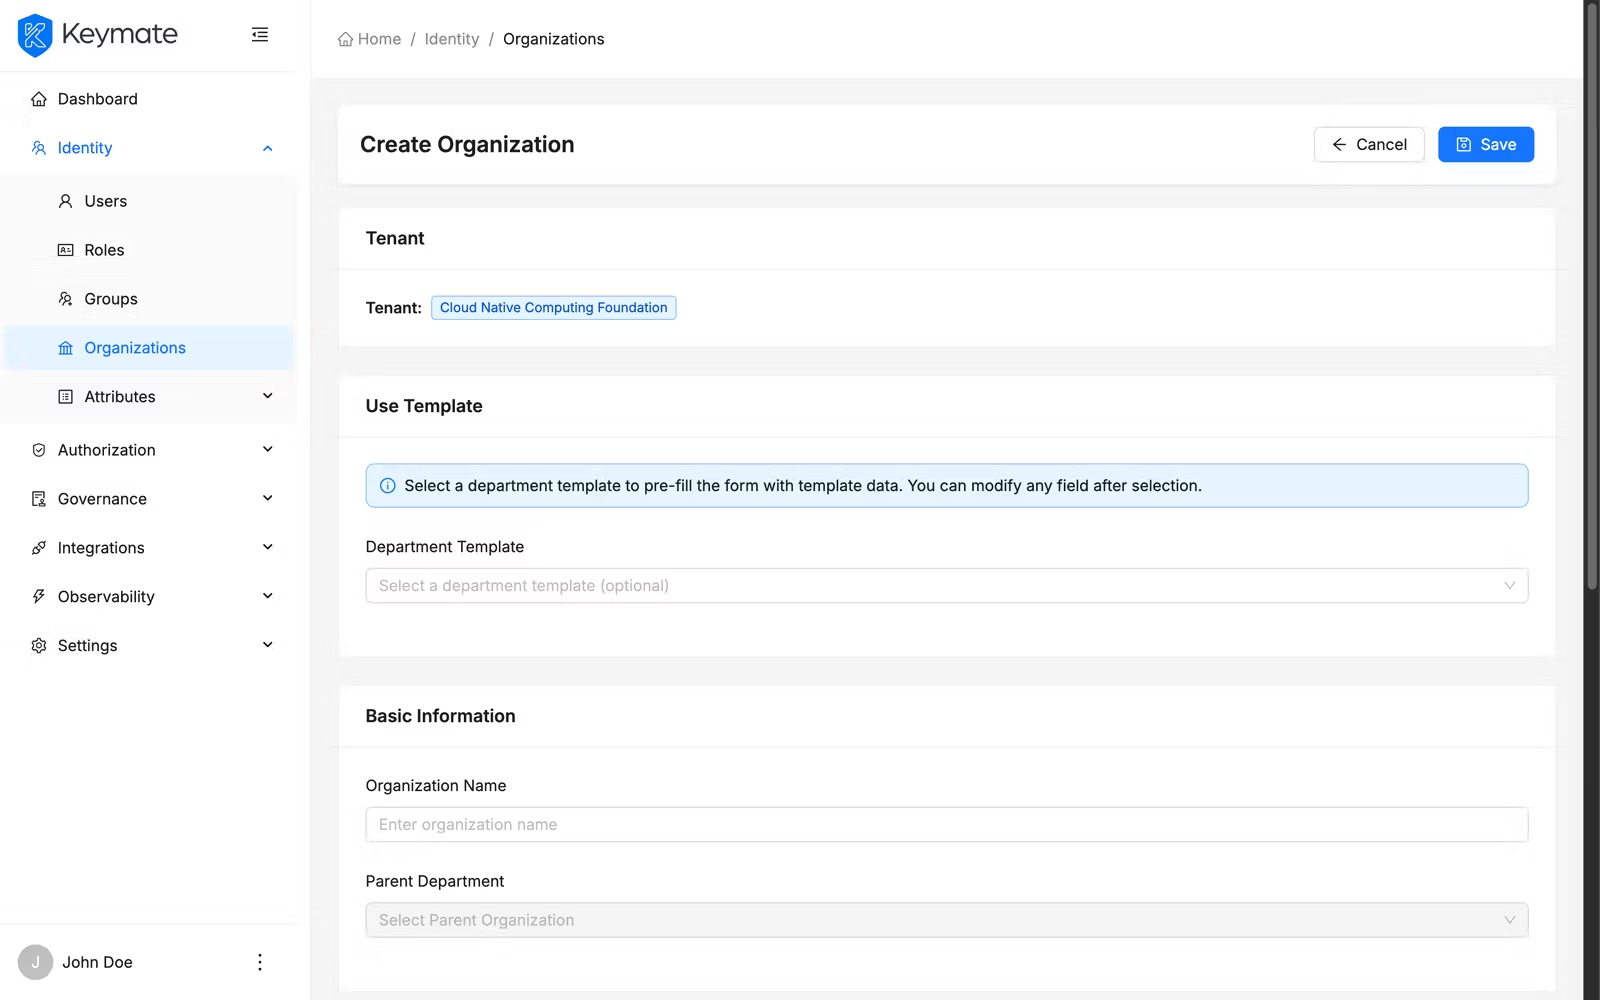
The form contains the following sections:
2a. Select a department template (optional)
If department templates are configured for this tenant, the Use Template section appears at the top of the form.
Select a department template from the dropdown to pre-fill the form with template data. When you select a template:
- The Organization Name field is populated with the template name
- Realm Roles are pre-filled based on the template configuration
- Client Roles are fetched and auto-assigned from the template
- Property Templates linked to the department template are auto-selected
- Attribute values are pre-populated with template defaults
An info banner explains: "Select a department template to pre-fill the form with template data. You can modify any field after selection."
You can modify any pre-filled field after selecting a template. The template provides a starting point, not a locked configuration.
2b. Enter basic information
In the Basic Information section, provide the organization name.
| Field | Required | Description |
|---|---|---|
| Organization Name | Yes | Display name for the organization (max 150 characters) |
| Parent Department | No | Read-only field, empty for root organizations |
An alias is auto-generated from the name (lowercased, spaces replaced with hyphens). For example, "Sales Department" becomes sales-department.
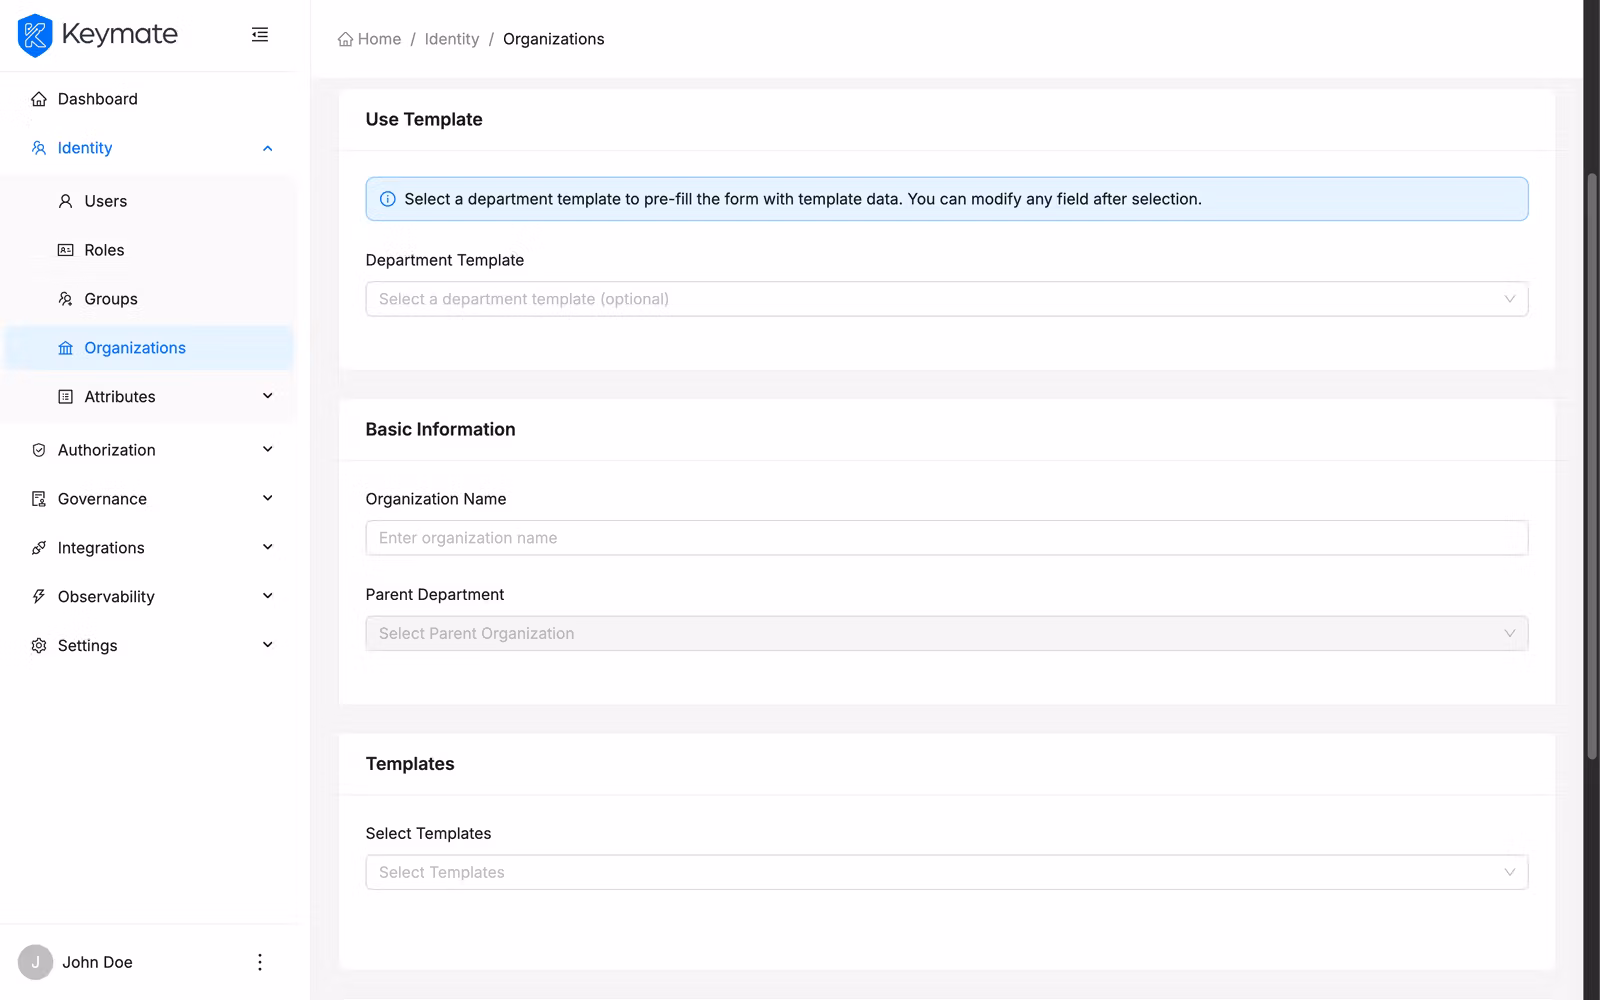
2c. Select property templates
In the Templates section, select one or more property templates from the Select Templates dropdown. Each selected template adds a new Properties section to the form where you fill in the template's custom attributes.

Each attribute field is typed according to the property template definition:
| Property Type | Input Control |
|---|---|
| STRING | Text input |
| NUMERIC | Number input |
| BOOLEAN | Select dropdown (Yes / No) |
| DATE | Date picker |
Required attributes (defined by the template) must be filled before you can save the organization.
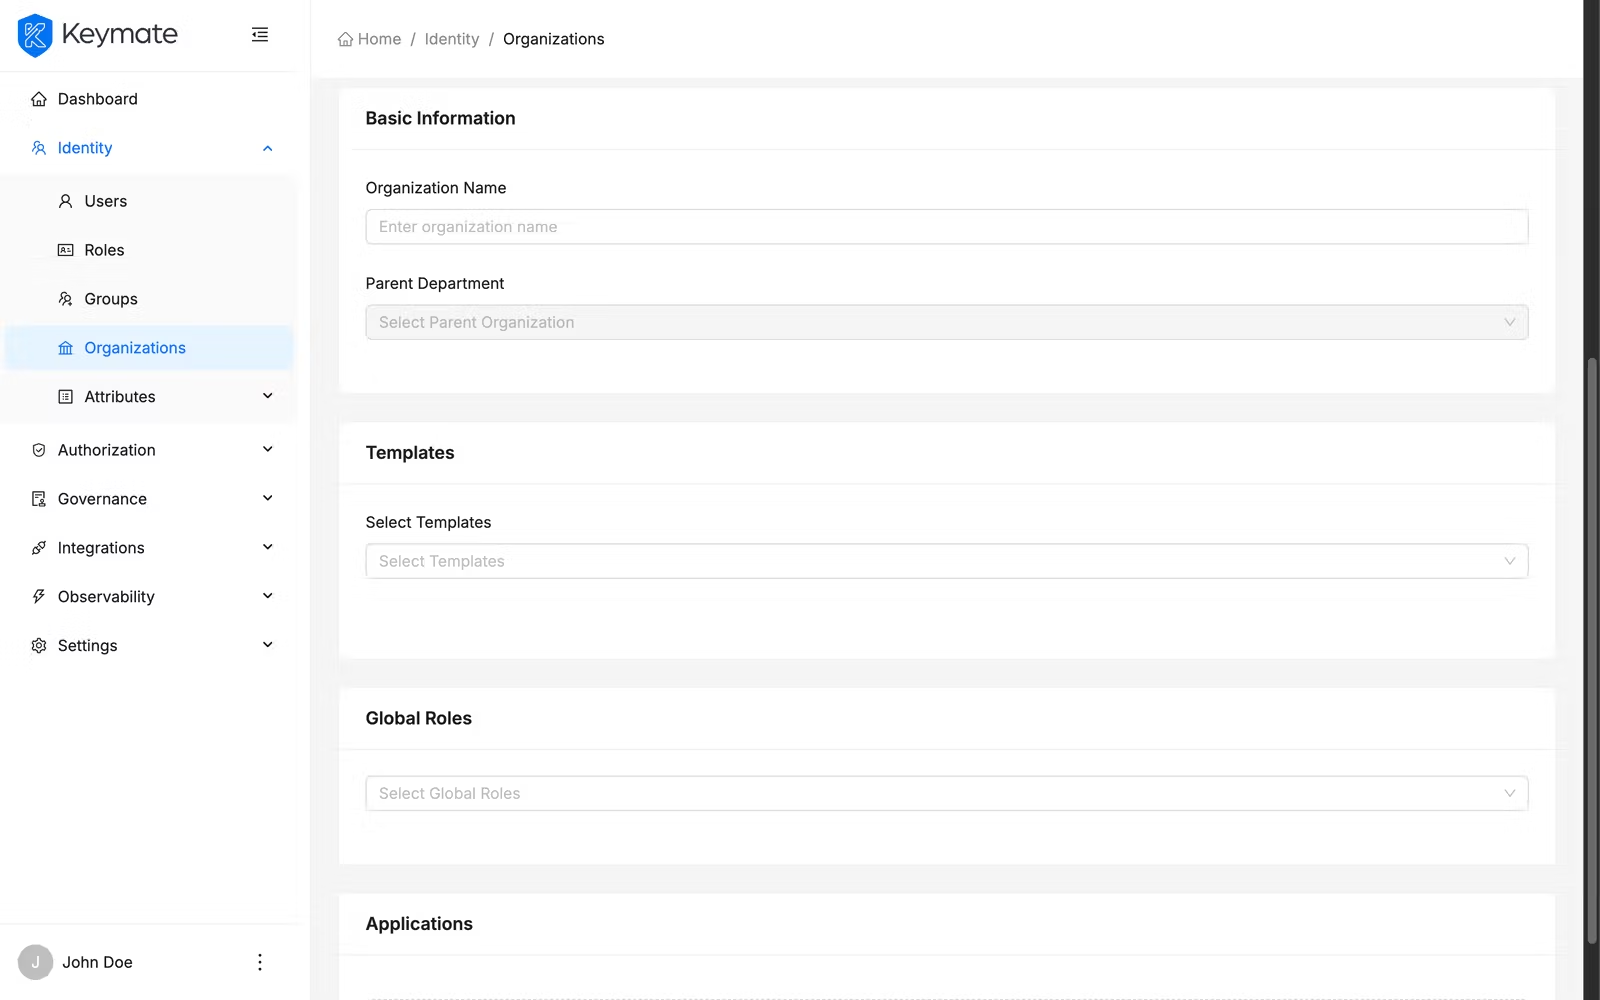
2d. Assign realm roles
In the Global Roles section, use the multi-select dropdown to assign realm-level roles to the organization. These roles apply to all users within the organization at the realm level.
2e. Assign client roles
In the Applications section, assign client roles grouped by OAuth client. Select an application and then choose the roles to assign.
2f. Save the organization
Click Save (the save icon in the form header). On success, you are redirected to the organization list, and a success notification appears: "Organization created successfully."
3. View organization details
Click an organization node in the hierarchy tree to open its detail page. The detail page shows:
Header section:
- Organization name and alias
- Created and Updated timestamps
- Action buttons (if you have write permissions): Edit, Assign User, Create Sub Department, and a More menu with Delete
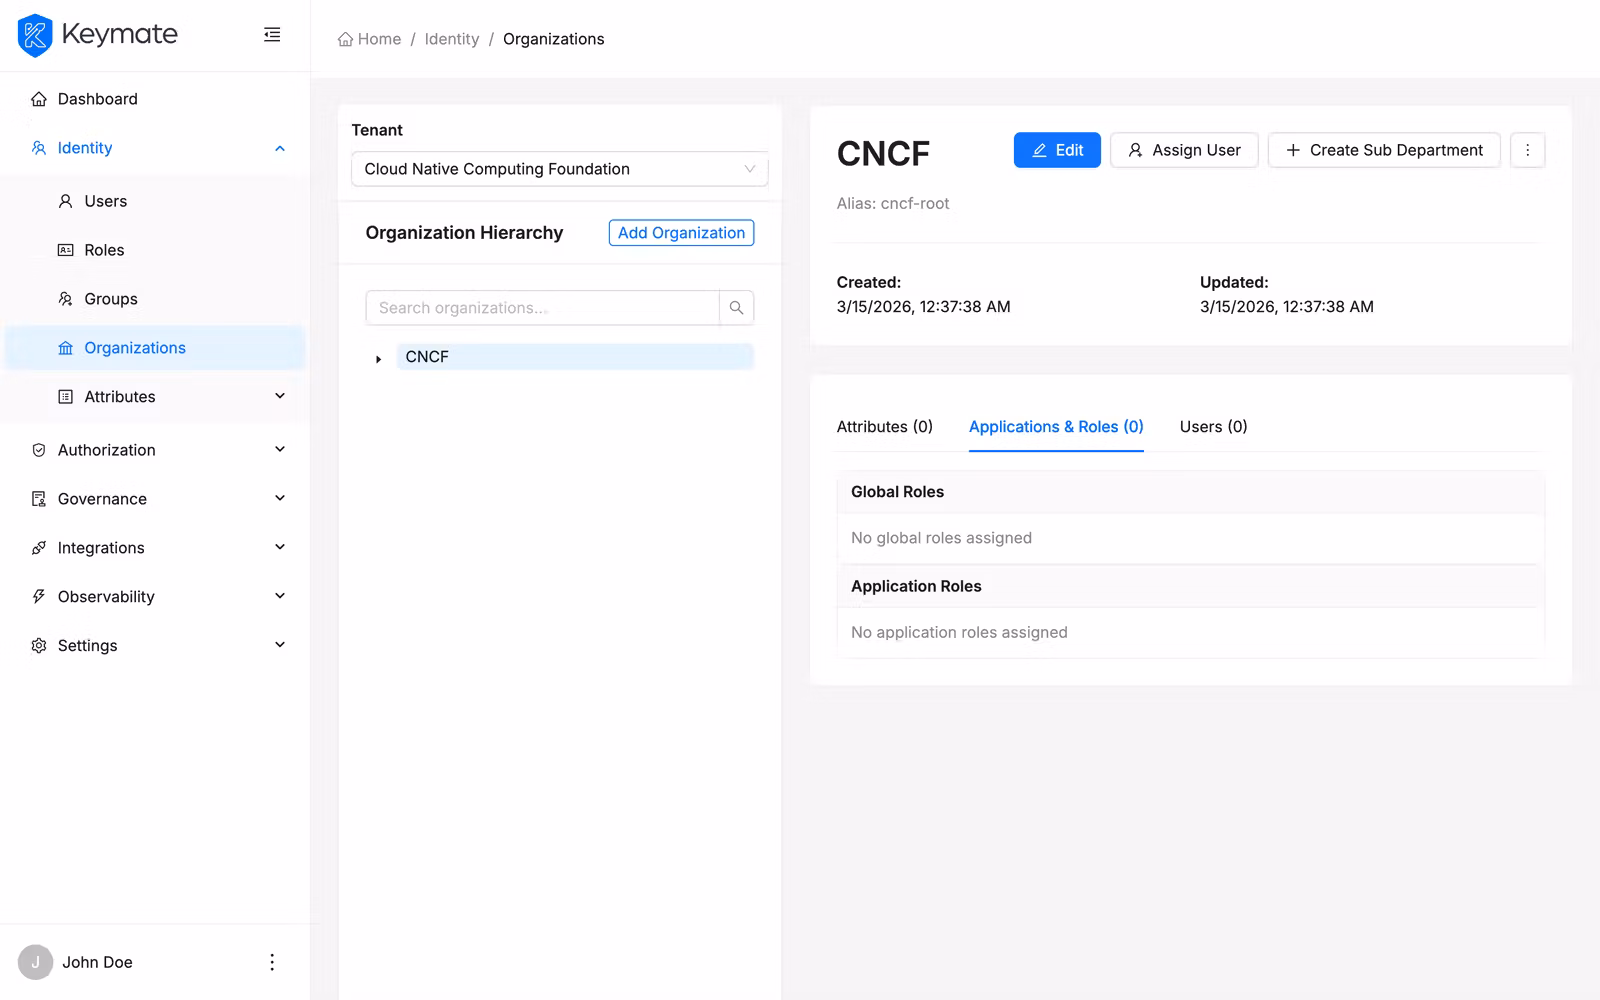
Tabbed content:
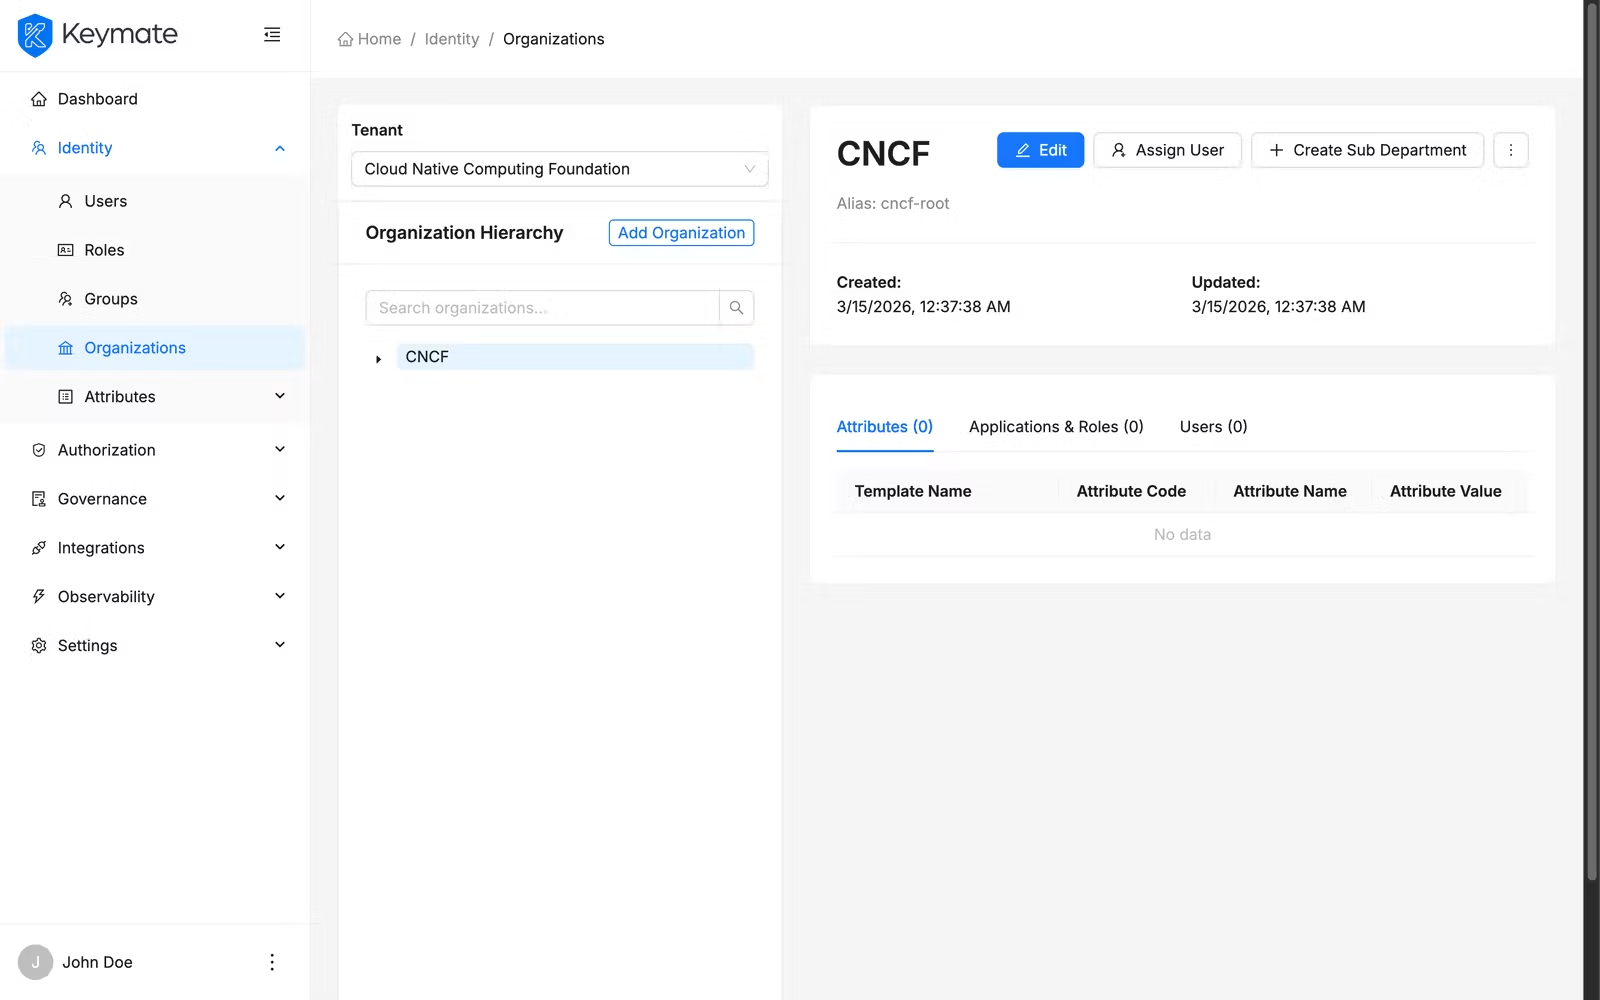
The detail page has three tabs:
| Tab | Content |
|---|---|
| Attributes | Table of custom property values from assigned templates (columns: template name, attribute code, attribute name, attribute value) |
| Applications & Roles | Two sections — Realm Roles (blue tags) and Client Roles (green tags) with counts |
| Users | Paginated table of assigned users with their department roles and assigned roles |
4. Create a sub-department
From an organization's detail page, click Create Sub Department. This opens the same creation form as step 2, with two differences:
- The Parent Department field is pre-filled and read-only, showing the parent organization's name
- If the parent has a department template, the Use Template section shows only sub-templates of the parent template. An info banner explains: "Select a sub-template from the parent department template. You can modify any field after selection."

If no sub-templates are available for the selected parent template, a warning message appears: "No sub-templates available for the selected parent department template."
After saving, the new sub-department appears nested under its parent in the hierarchy tree.
Sub-departments use a separate API operation and appear indented under their parent in the tree view. A sub-department can itself have further sub-departments — the hierarchy has no depth limit. For API details, see the Tenant API reference.
5. Edit an organization
From the organization detail page, click Edit. The edit form loads with all existing values pre-filled:
- Organization Name — editable
- Department Template — not shown (the template selector is only available during creation)
- Property Templates — editable (add or remove templates, update attribute values)
- Realm Roles — editable
- Client Roles — editable
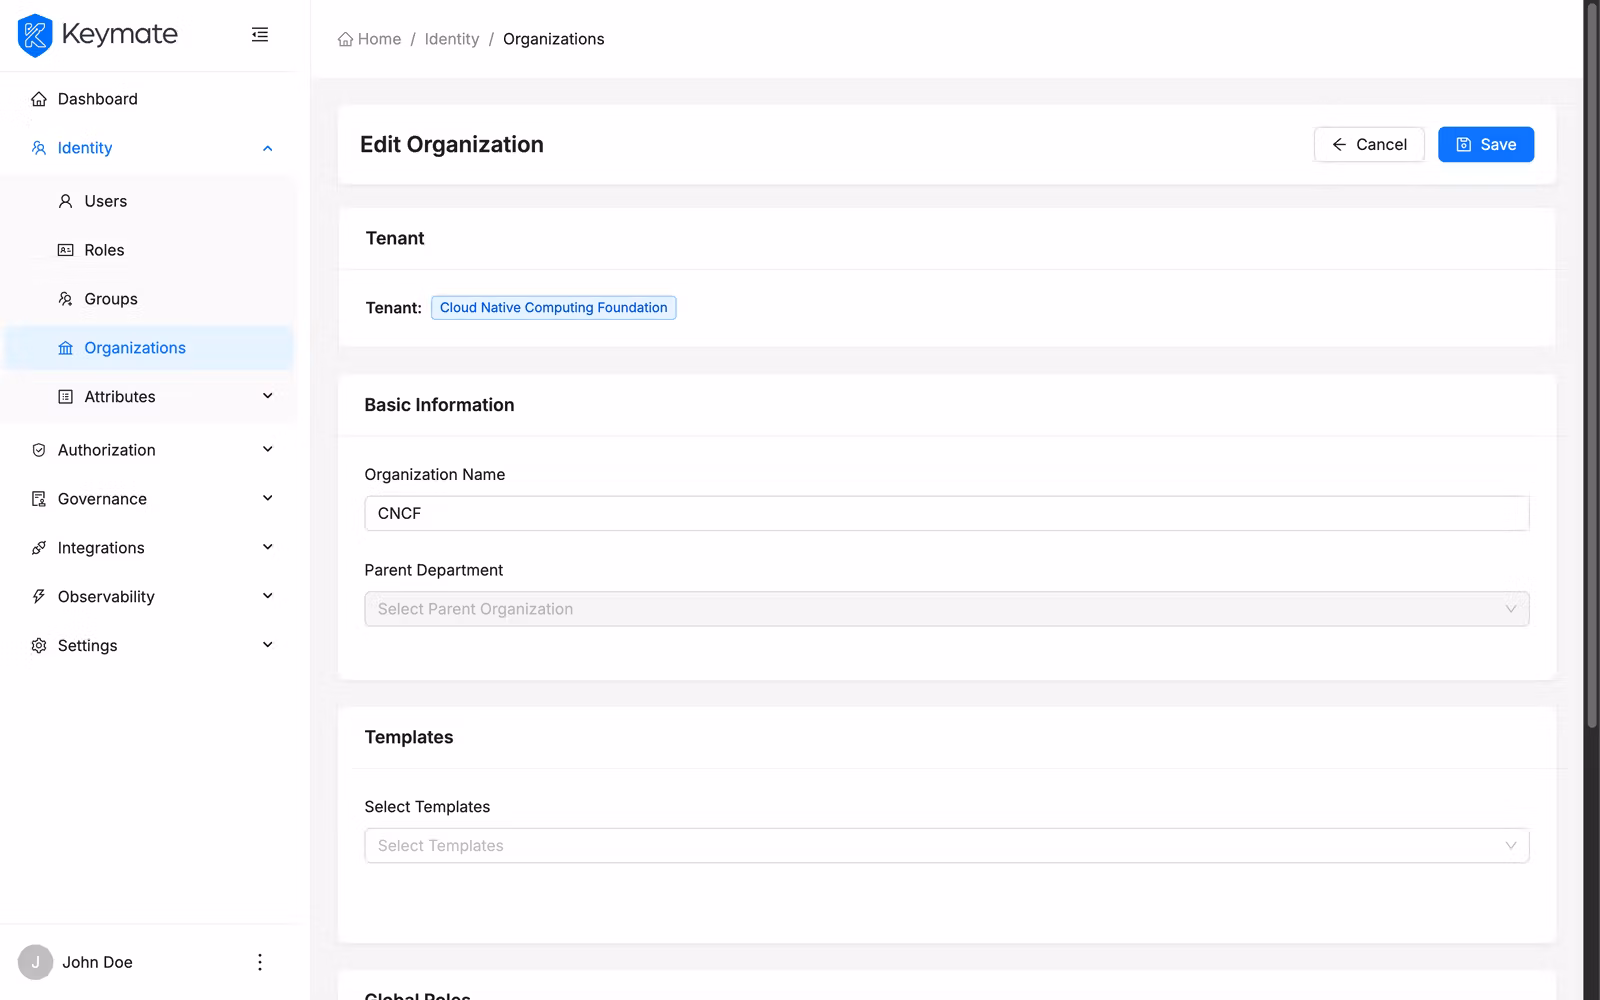
Make your changes and click Save. On success, a notification appears: "Organization updated successfully."
6. Delete an organization
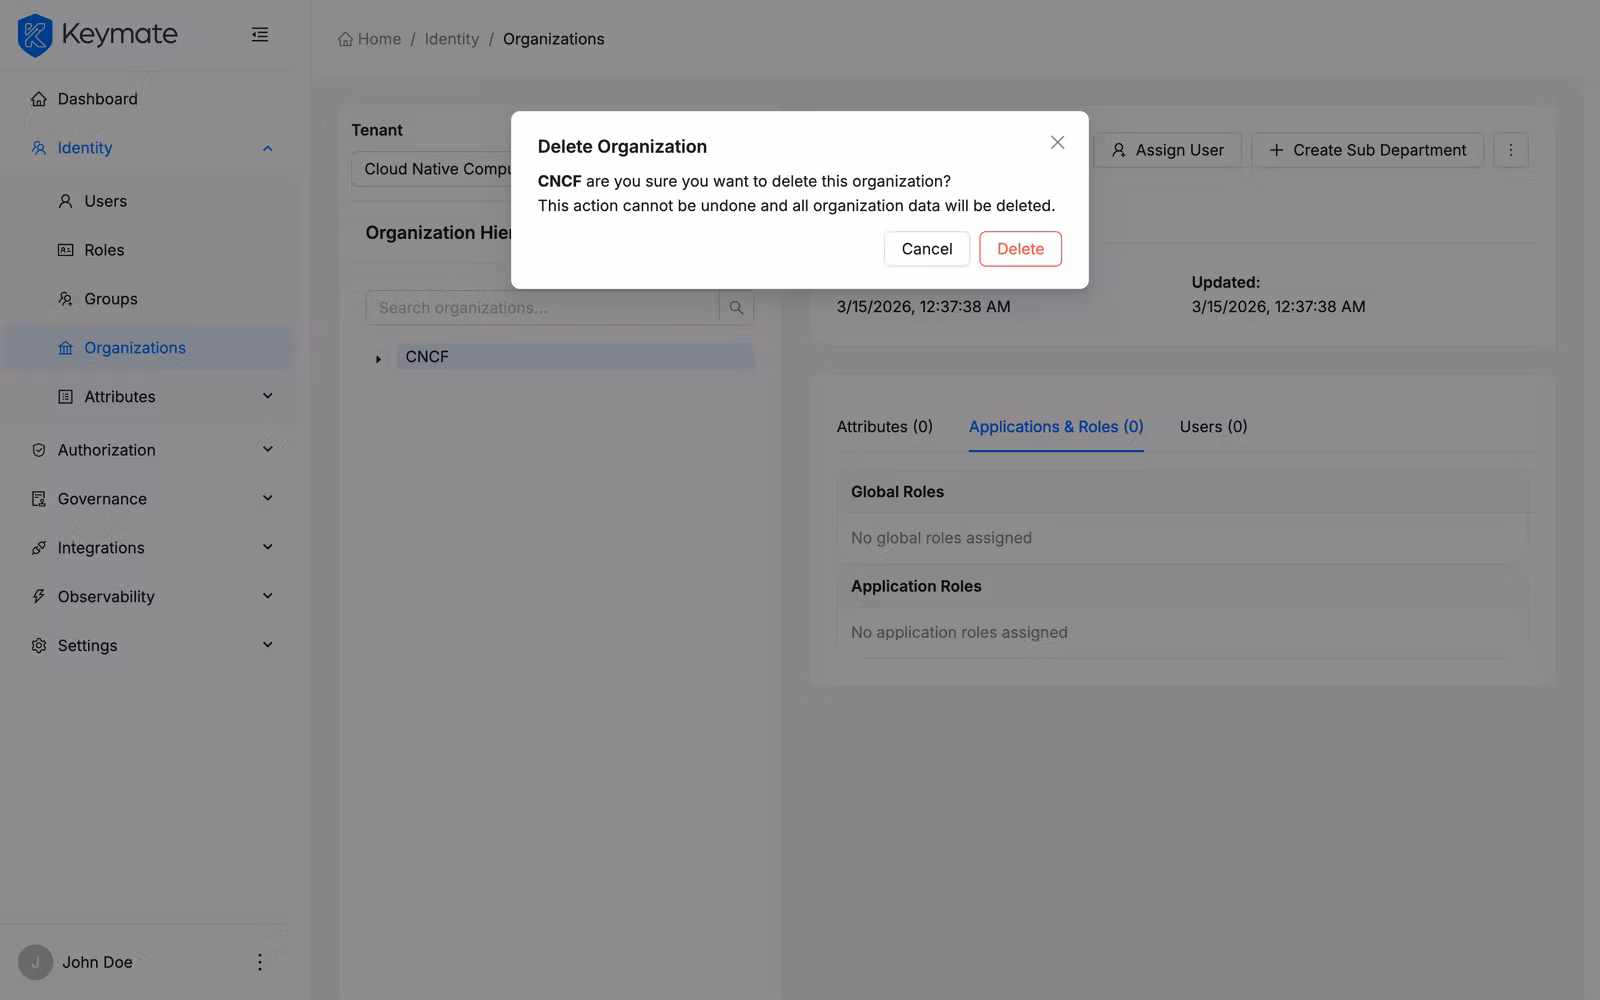
From the organization detail page, click the More button (three dots icon) and select Delete. A confirmation modal appears:
Delete Organization
{Organization Name} — are you sure you want to delete this organization?
This action cannot be undone and all organization data will be deleted.
If the organization is a sub-department, an additional warning appears: "This is a sub-department and will be removed from the parent department."
Deleting an organization fails if it has dependencies (user assignments, role assignments, or sub-departments for root organizations). Remove these dependencies first before deleting.
Click Delete to confirm. On success, you are redirected to the organization list, and the deleted organization is removed from the hierarchy tree.
7. Assign a user to an organization
From the organization detail page, click Assign User. A side drawer opens with the Assign User form.
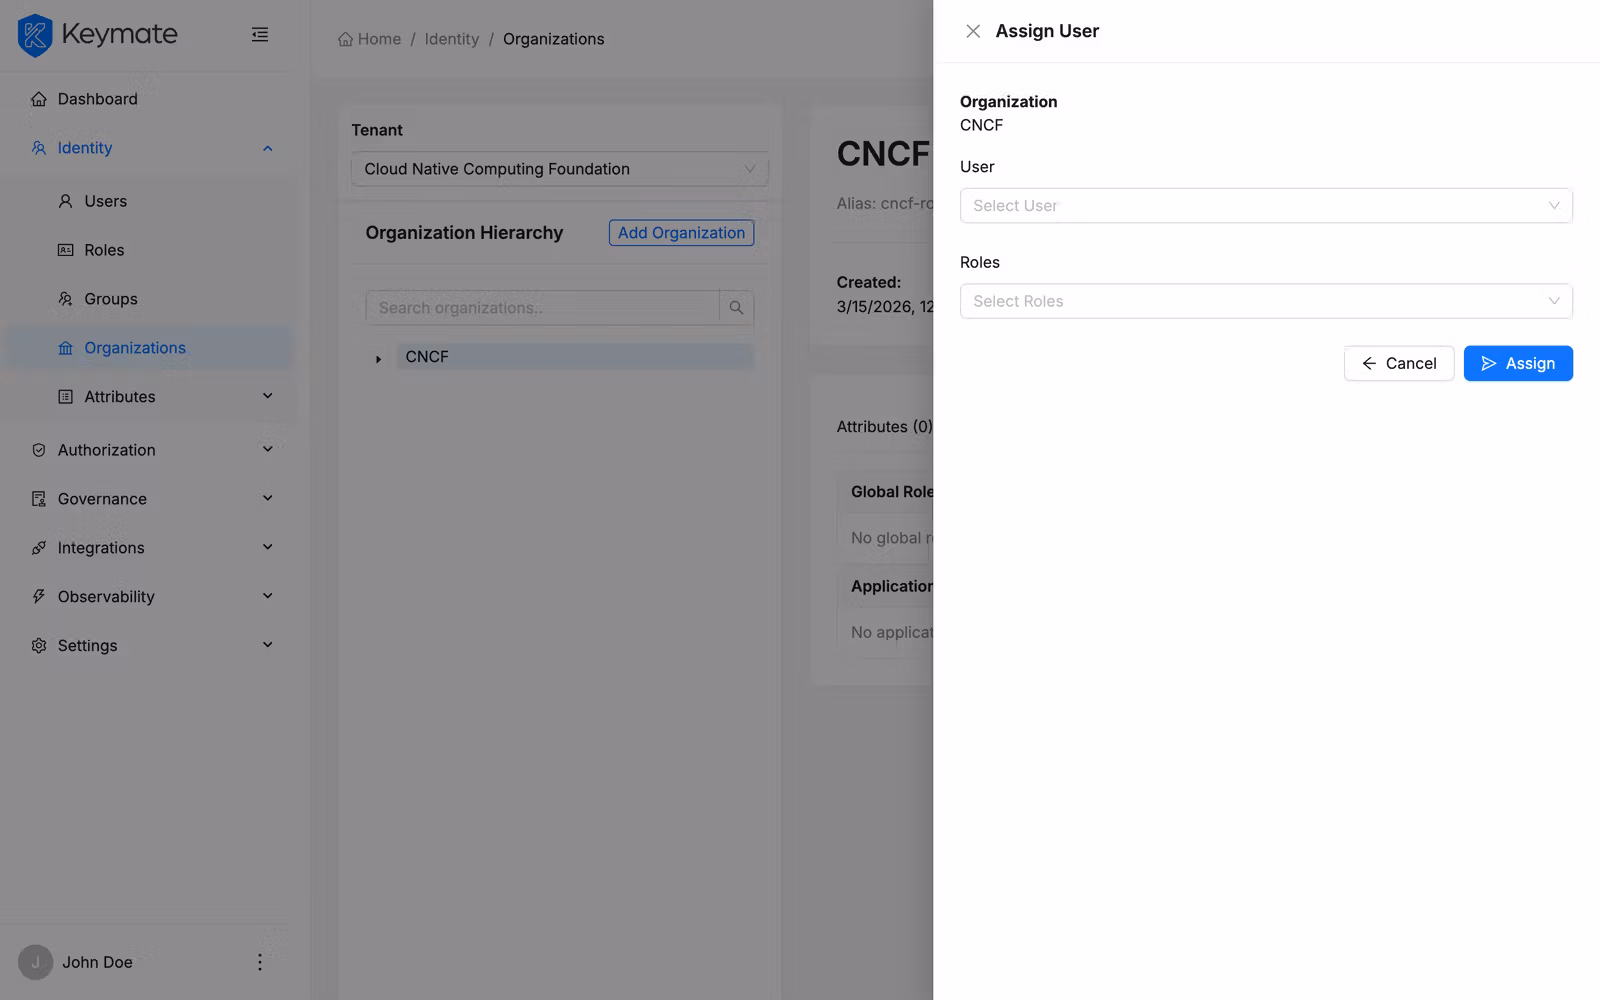
Fill in the form:
| Field | Required | Description |
|---|---|---|
| User | Yes | Search and select a user by name or email from the async dropdown |
| Roles | Yes | Select one or more roles to assign to the user within this organization (at least one role required) |
When you select a user, the system automatically loads any existing role assignments for that user in this organization and pre-fills the Roles field.
Click Assign to save. On success, the drawer closes, the users table refreshes, and a notification appears: "User assigned to organization successfully."
8. Remove a user from an organization
In the Users tab of the organization detail page, locate the user you want to remove. Click the remove action. A confirmation dialog appears:
Remove User
Are you sure you want to remove {User Name} from this organization?
Confirm the removal. On success, the user is removed and the table refreshes.
Validation Scenario
Use this scenario to confirm that the organization management workflow functions correctly.
Scenario
Create a root organization named "Test Division" for a tenant, add a sub-department named "Test Unit" under it, assign a user with a realm role to the sub-department, then verify the hierarchy and user assignment.
Expected Result
- "Test Division" appears as a root node in the organization hierarchy tree
- "Test Unit" appears nested under "Test Division" in the tree
- The assigned user appears in the Users tab of "Test Unit" with the correct role
How to Verify
- UI evidence: Navigate to Identity > Organizations, select the tenant, and confirm the tree shows "Test Division > Test Unit." Click "Test Unit" and verify the user appears in the Users tab
- API evidence: Query the department tree endpoint to confirm the hierarchy contains "Test Division" with "Test Unit" as a child node. See the Tenant API reference for endpoint details.
- Logs / traces: Check application logs for successful create and assign operations
- Audit evidence: Verify audit events for organization creation and user assignment actions
Troubleshooting
- "Please select a tenant to view organizations" — You must select a tenant from the dropdown before the hierarchy loads. If no tenants appear, verify your user has tenant read permissions
- Template selector does not appear — Department templates must be configured under Governance > Templates > Organization Templates before they appear in the creation form. If no templates exist for the tenant, the section is hidden
- Cannot delete organization — Organizations with user assignments, role assignments, or sub-departments cannot be deleted directly. Remove all dependencies first, then retry the deletion
- Form validation error on save — Ensure all required fields are filled, including required attributes from selected property templates. The error toast "Please fill in the form fields correctly" indicates one or more validation rules failed
- Sub-template warning — When creating a sub-department, if the parent organization has a department template but no sub-templates are defined, a warning appears. You can still create the sub-department without a template
Next Steps
After setting up your organization hierarchy, consider these next steps:
- Manage users and roles across your organizations — see User & Role Management
- Understand the conceptual model behind organizations — see Organization Hierarchy
- Configure delegated administration to let organization admins manage their own units — see Delegated Administration
Related Docs
Organization Hierarchy
Understand how organizations are structured hierarchically within tenants
Tenant Management
Set up and configure the tenant that contains your organizations
User & Role Management
Manage users and role assignments across your platform
Organization API
API reference for organization endpoints
Can organizations be nested to any depth?
Yes. Organizations support unlimited nesting depth. A root organization can have sub-departments, which can themselves contain further sub-departments. The hierarchy tree in the Admin Console displays all levels.
What happens to users when an organization is deleted?
Deleting an organization requires that all user assignments, role assignments, and sub-departments are removed first. The system prevents deletion of organizations that have active dependencies and returns a specific error indicating which dependencies must be resolved.
Can I change the department template after creating an organization?
No. The department template is selected during organization creation and cannot be changed afterward. The template selector does not appear on the edit form. However, you can still modify the property templates (separate from department templates) and individual attribute values at any time.
How do property templates differ from department templates?
Department templates define a preset configuration for an organization — they pre-fill the name, roles, property templates, and attribute values during creation. Property templates define custom attribute schemas (typed key-value pairs like strings, numbers, booleans, dates) that add structured data fields to an organization. An organization can use multiple property templates simultaneously.
Can I assign the same user to multiple organizations?
Yes. Users can be assigned to multiple organizations within the same tenant, each with different role configurations. The user assignment is per-organization, and roles are scoped to that specific organization.